


2.2 Installing Visual Studio Code.
Installing Visual Studio Code is a very simple task, you just have to do:
- Visit the Visual Studio Code website ( https://code.visualstudio.com/Download ).
- Choose your Operative System and download the Installer.
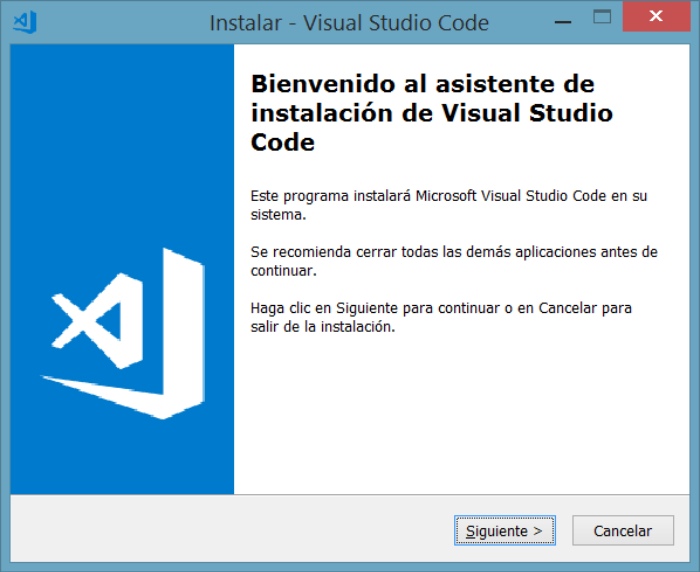
3. Open the Installer and follow its instructions (is not necessary to modify something, the default settings are suitable to have a functional Visual Studio Code in our computers).
¡Visual Studio Code is Now Installed!


2.3 Installing C# in VS Code.
To start coding in C# (C Sharp) language and be able to work with Unity, we need to:
- Install “Microsoft .Net Core SDK” in our computers; visit the following link to obtain the installer: https://www.microsoft.com/net/learn/get-started/windows.
- Open the “Microsoft .Net Core SDK” installer and follow its steps to complete the installation (is a very simple process).
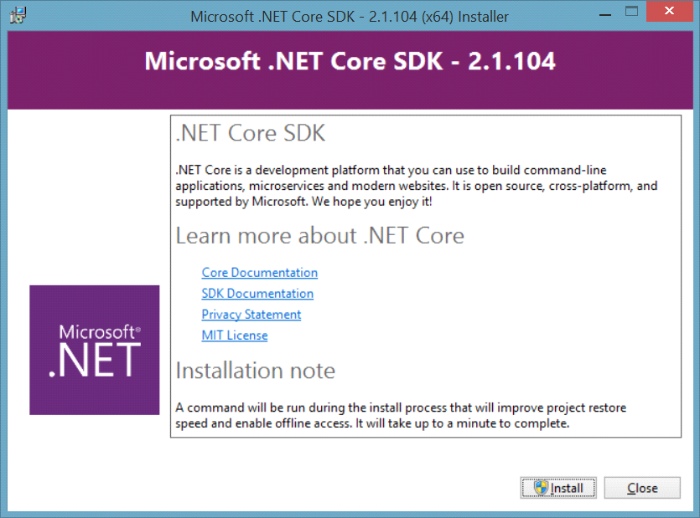
3. Restart your computer, then Microsoft .Net Core SDK will be ready.
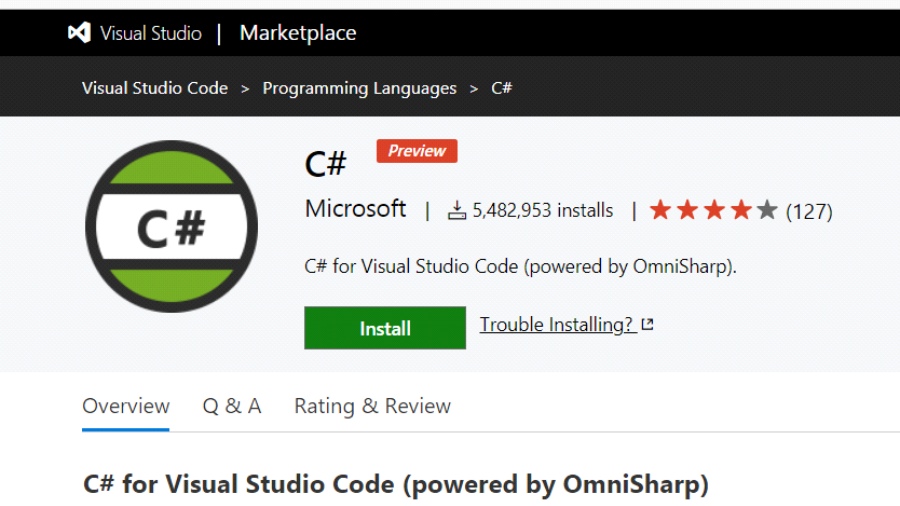
With “Visual Studio Code” and “Microsoft .Net Core SDK” installed in your computer, the next step is getting the “C#” extension for Visual Studio Code. There are two methods to do this:
- The first way is through the Visual Studio's “Marketplace” website (https://marketplace.visualstudio.com/items?itemName=ms-vscode.csharp). By clicking on the “Install” button the system will start "Visual Studio Code" in our computers in order to continue with the installation.
- The second way is by opening "Visual Studio Code" in our computers, then click on the “Extensions” icon (or from the Menu bar: View → Extensions). Once the "Extensions" window is shown, type in the search bar “C#” and then choose: “C# C# for Visual Studio Code (powered by OmniSharp)”.
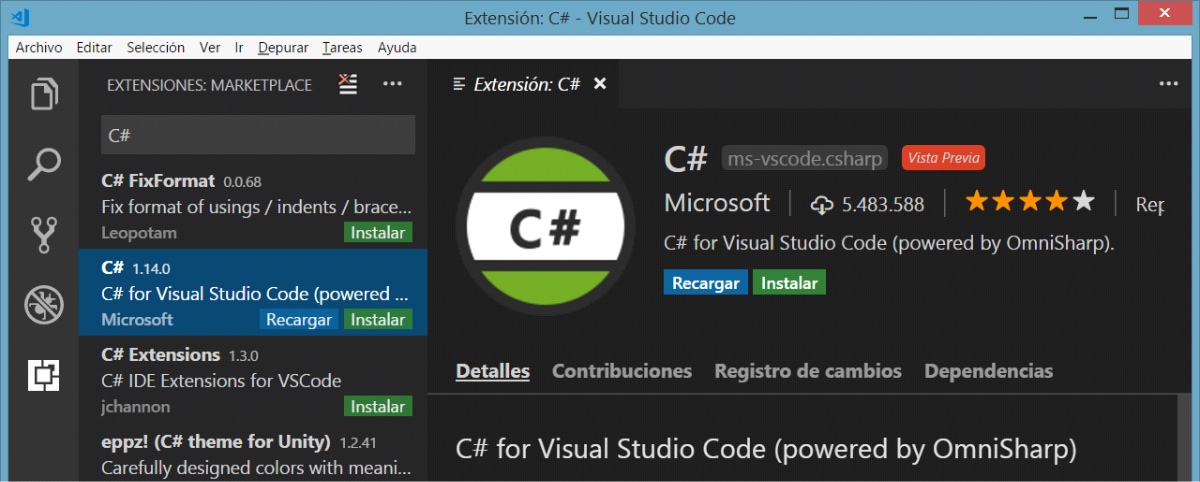
On both ways Visual Studio Code must be open and we have to see something similar to the above picture (Visual Studio Code showing the "C#" Extension), now just click on the “Install” button.
¡We can Start Coding in C#!, we just need to enable Visual Studio Code within Unity.
2.4 Enabling Visual Studio Code in Unity.
Enabling Visual Studio Code as the default Code Editor inside Unity is very easy, just follow the next steps:
- Open a Unity Project (new or existing).
- From the Menu bar go to Edit → Preferences, this opens the “Unity Preferences” window.
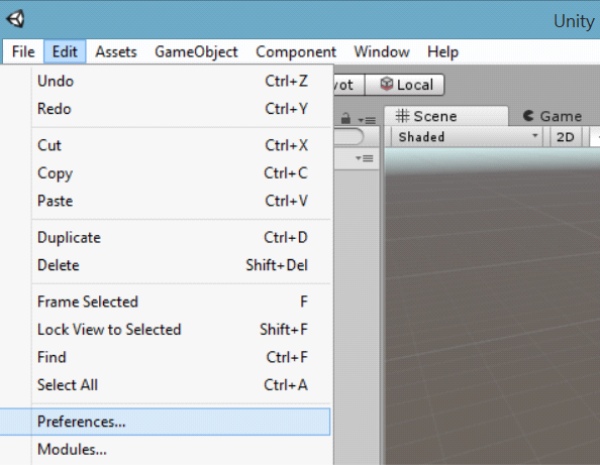
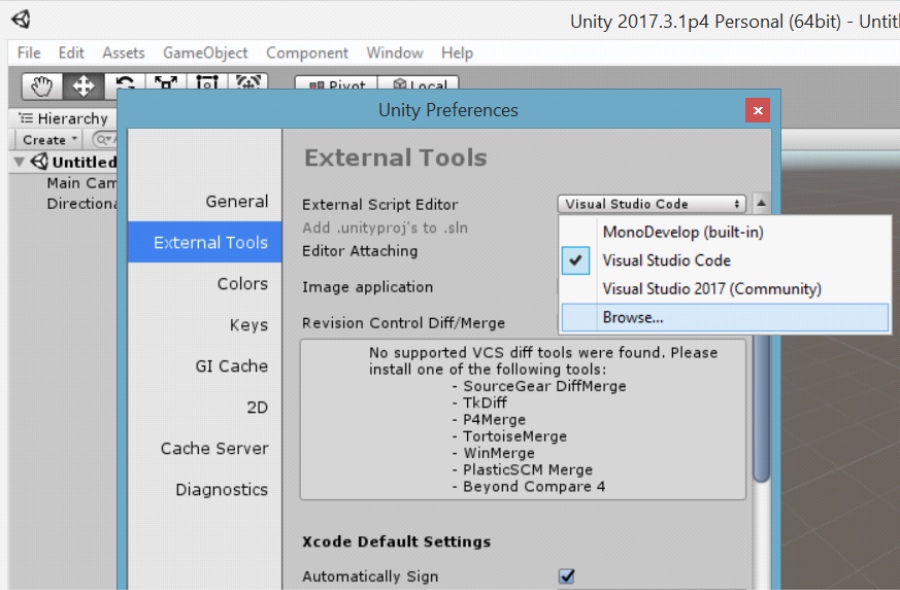
3. In “Unity Preferences”, at the left column click on “External Tools”, this window now will show the “External Tools” information and here we have to select “Browse” from the “External Script Editor” drop-down list .
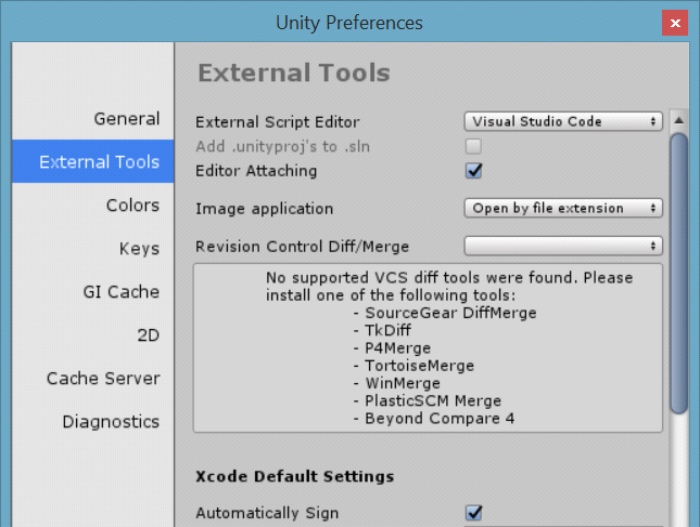
4. We have to search for the code editor “.exe” (for Windows) or “.app” (for macOS) file. For Visual Studio Code on Windows, the required file is “Code.exe” and can be found at “C:Program FilesMicrosoft VS Code” (or C:Program Files (x86)Microsoft VS Code). On macOS, the file is “Code.app” and can be found at “/Applications”. Finally, this “Unity Preferences” section will be shown like this:
¡Now We Can Use Unity with Visual Studio Code!
Adorable
Gracias amigos