


Once confirmed that your computer meets the minimum system requirements, choose the version of Unity that you like the most and start downloading it (the "Personal" version of Unity is free and ideal for those who are just beginning); to download Unity you can do it from: https://store.unity.com/ .
From the Unity website, you'll download the "Unity Hub" installer appropriate for your operating system, and this installer will guide you step-by-step through the entire process. It's important to mention that "Unity Hub" is a desktop application that acts as a control center for all aspects of Unity, allowing you to install and manage different versions of the Unity editor as well as create and manage projects (in other words, Unity Hub is the gateway to start working on your Unity projects)..
Once the installer starts, you will see something like this:
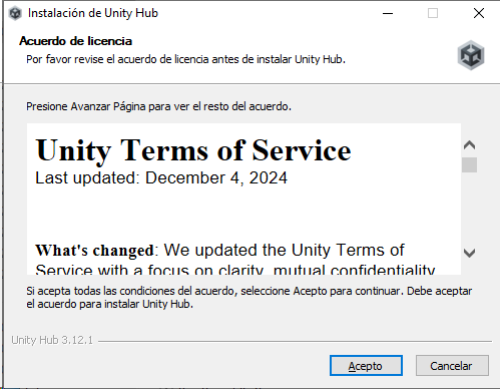
Follow the instructions shown in the installer and you'll quickly have Unity Hub ready on your computer.
As mentioned above, Unity Hub isn't the Unity engine itself; it's an application that allows you to select, install, and open the version of Unity you want to work with (among many other things you can do there).
That said, find the icon that was created on your desktop, double-click it, and open "Unity Hub."
At first, you'll be asked to register, so click "Create an account" and follow the steps on the Unity website to complete your registration.
Once you've registered, the Unity website will ask you to open Unity Hub to link the new account. Then, it will ask you to define the path where you want the Unity engines you'll be working with to be installed. Accept the default path and continue.
Then, it will ask you to install the latest version of the Unity engine. There are two options:
- Accept and install Unity with all the default components previously selected for you (with this, you'll be able to start working immediately).
- If you don't accept, as we'll see below, you can install the version of Unity you choose with the components you want (we recommend this so you can see everything Unity has to offer from the start).
If you chose option 1, skip to the next step. If you chose option 2, continue reading.
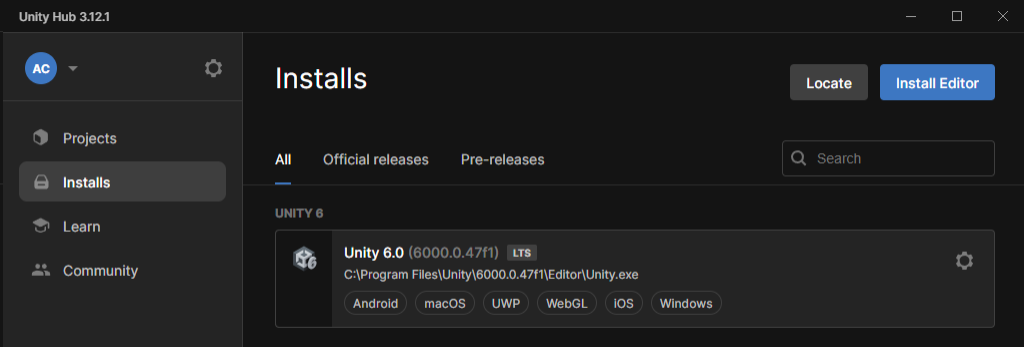
To install the Unity engine version you want, with Unity Hub open, choose "Installs" and then the blue "Install Editor" button.
A window will appear allowing you to select the engine version you want. For the purposes of this tutorial, we'll choose Unity 6.0 and click the blue "Install" button.
A window will now appear allowing you to select the components you want your engine version to include; these are primarily the platforms you want to build games for (Android, iOS, Windows, etc.).
We'll simply select "Universal Windows Platform Build Support" (to start by building only PC games). We'll leave everything else unselected and click the blue "Install" button.
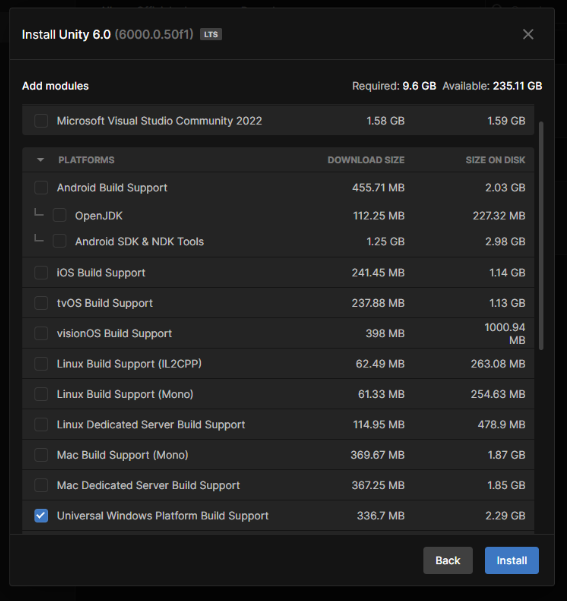
These two components are the basic and essential ones to start working in Unity for the first time.
Note: We didn't select the "Microsoft Visual Studio Community" code editor because we recommend using Visual Studio Code instead (we'll explain how to install it in the next post). Don't worry about selecting the other components, as they correspond to other platforms; once you master the basics, you can focus on developing video games for any of these platforms.
After this step, the Unity installation is practically automatic; all you have to do is wait for it to finish.


1.2 Knowing the Interface.
Now we will give only a very general look at the Unity's interface (in the following tutorials we will see each of the tools in more detail).
Now that we have installed our version of the Unity engine, let's take a look at some of the options available in Unity Hub:
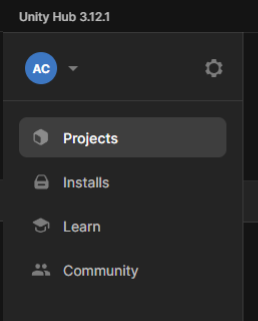
- In the "Projects" section, we'll see the most recently opened projects (since this is our first time using Unity Hub and we don't have any projects created, this section will be empty).
- In the "Installs" section, we'll see all the versions of the Unity engines installed on our computer.
- In the "Learn" section, we'll see tutorials and references created by Unity so we can learn how to use this game engine.
- In the "Community" section, we'll see Unity's recommendations on tools we can use to help us on our journey as game developers.
- In the icon with our initials, we can see everything related to our Unity user account.
- In the gear or "Preferences," we can change aspects of the user interface, installation paths, etc.
Now, let's create a project in Unity to get a general overview of the work tools:
- Click on "Projects" and then on the blue "New Project" button; it will now show the following:
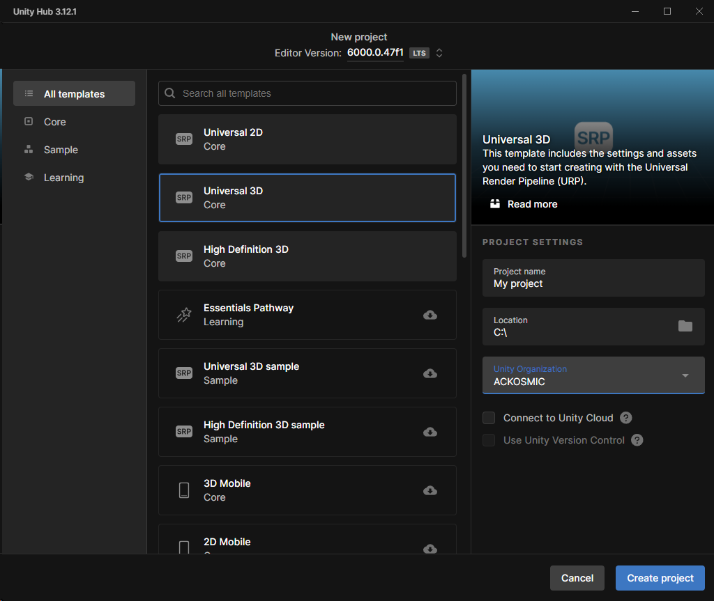
2. In “Project name,” enter your preferred name for your project. It's always a good idea to keep names short to avoid problems when compiling projects (a maximum of 20 characters is appropriate).
3. In “Location,” select the path where you want your project to be saved (in this path, Unity will create a folder with the name you assigned in the “Project name” field and save all your project data there).
4. Select the “Universal 3D” template" (each template configures the components to be used in your project differently).
5. Finally, click the “Create Project” button (you don't need to change the other options yet).
Now the Unity development environment (the Editor Interface) will be shown, automatically an empty scene is created (scenes are the project sections in which we can develop our game, very similar to a movie):
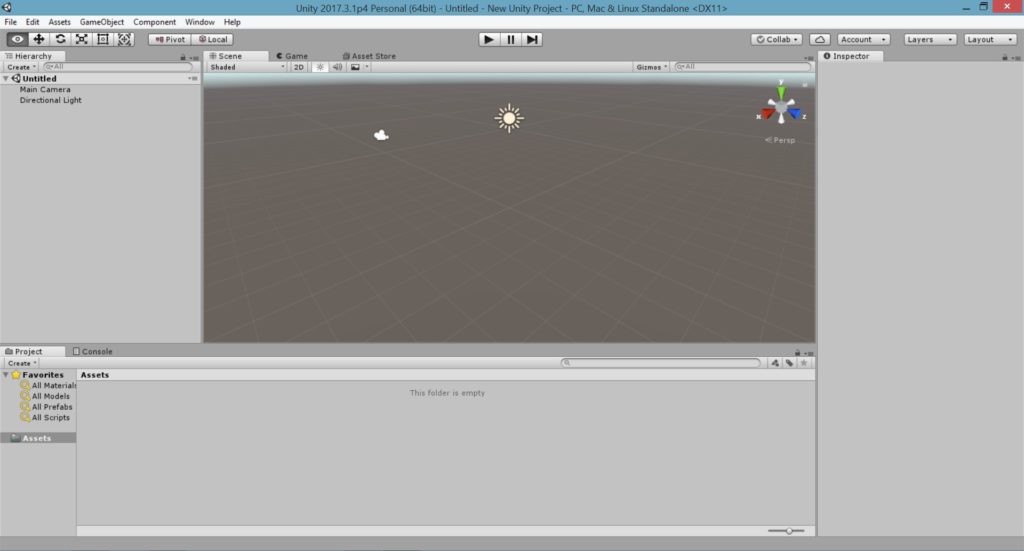
The main components of the Unity Editor Interface are:
-
The "Menu" bar, where we will find all the accesses to the tools to create and modify any aspect of our project.

-
The "Toolbar", an area composed of the following buttons groups:
- Buttons to manipulate objects inside the "Scene" window; each of the buttons will allow us to perform a specific action on the object or objects that we have within our scene (such as moving, rotating, scaling them), as well as adjusting our field of vision (to be able to see objects from other angles).
![]()
- Buttons to "Test" our scene (and see how our game behaves).

- Buttons to access to the Unity Services (i.e. cloud working, advertising, manage our user account).

- "Layers" button; this button lets us group elements in our project (then we can apply specific behaviors for each group).

- "Layout" button; allows us to show and save different arrangements of windows inside the Editor Interface.

-
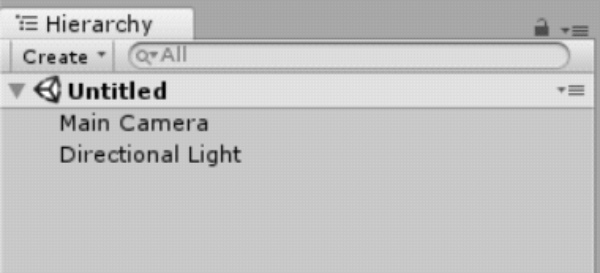
The "Hierarchy" window; here all the elements (Game Objects) in our scene will be shown as a list.
-
The "Scene" view; this is our scene, here we can place, see and modify all the elements that are part of our game.

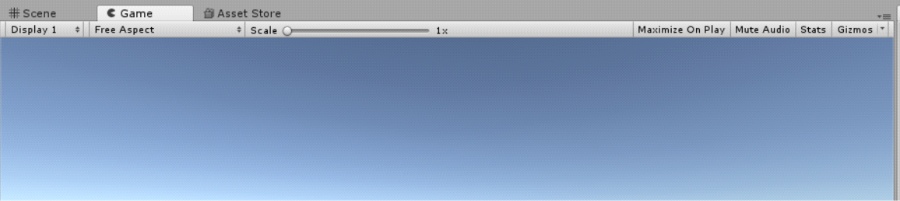
- The "Game" view; it shows how our game will look when executed (what the end user will see).
-
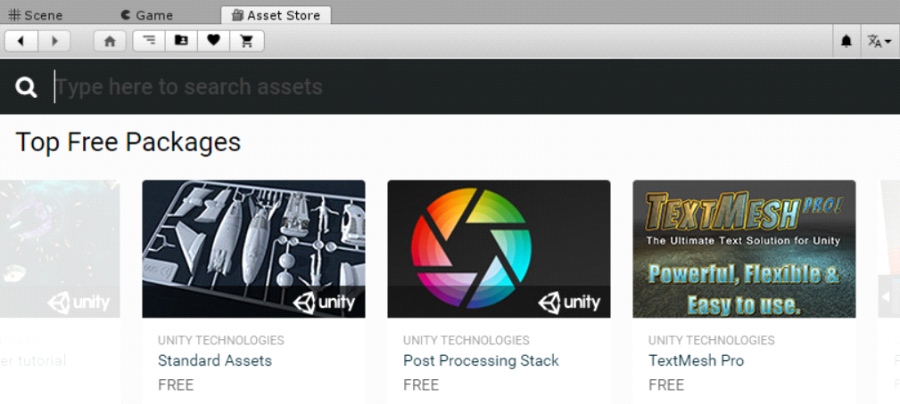
The "Asset Store" window; here we will have access to the Unity's Asset Store (assets or resources will help us simplify our work).
Note: ACKOSMIC Games has created some resources for you that will be of great help to develop your first videogame , you can find them at the Unity Asset Store https://assetstore.unity.com/publishers/26383
-
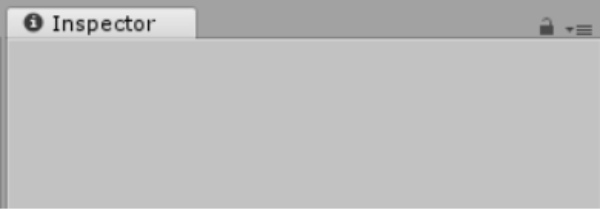
The "Inspector" window; when we select an element in our project (from the "Hierarchy", "Scene" or "Project" window), its properties will be shown here.
-
The "Project" window; very similar to our operating system's file explorer, here we can see the media files that we use in our projects (text, images, audio, video), as well as create the script files and others that are part of our video games.

-
Finally the "Console" window; here all the messages generated by the system are shown (information, warnings and errors).

This tutorial about Unity's installation and its general features ends here. Join us in the next post where we will see how to install "Visual Studio Code" in order to have a environment ready to develop video games.
Remember, if you want to know more about this topic, you can always visit Unity's online user manual at https://docs.unity3d.com/Manual/ or, do not hesitate to contact us for any questions or advice by clicking "Here"
Next Unity Tutorial: 2. Installing Visual Studio Code for Unity
Hi,
Great tutorial about Getting started with Unity. But, I think the article is little outdated. It will be great if you add Unity installation with Unity hub.