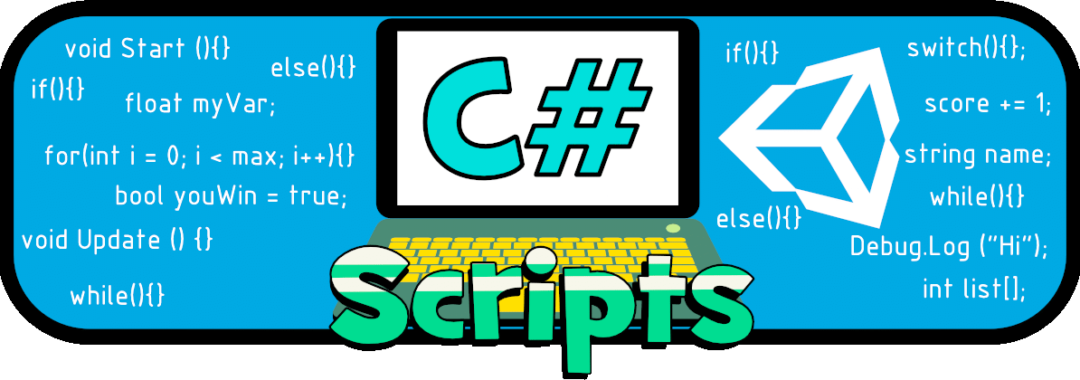
In this Unity Tutorial we will learn about the sections that set a Unity Script up, also we will know what a “Namespace”, a “Class”, an “Object” and “Methods” are (in order to get involved with the most common terms used when programming in C#).
Unity Tutorial Level: Beginner.
3.1 Namespace.
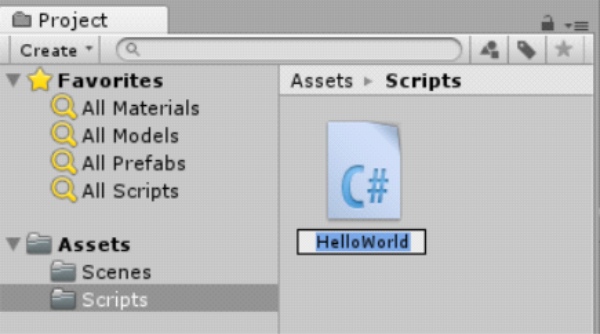
Let´s analyze our script “HelloWorld” (if you have doubts about how to create or open this file, you can see the previous post 2. “Hello World” in Unity). When we opened it for the first time, in the code editor we could see something like this:
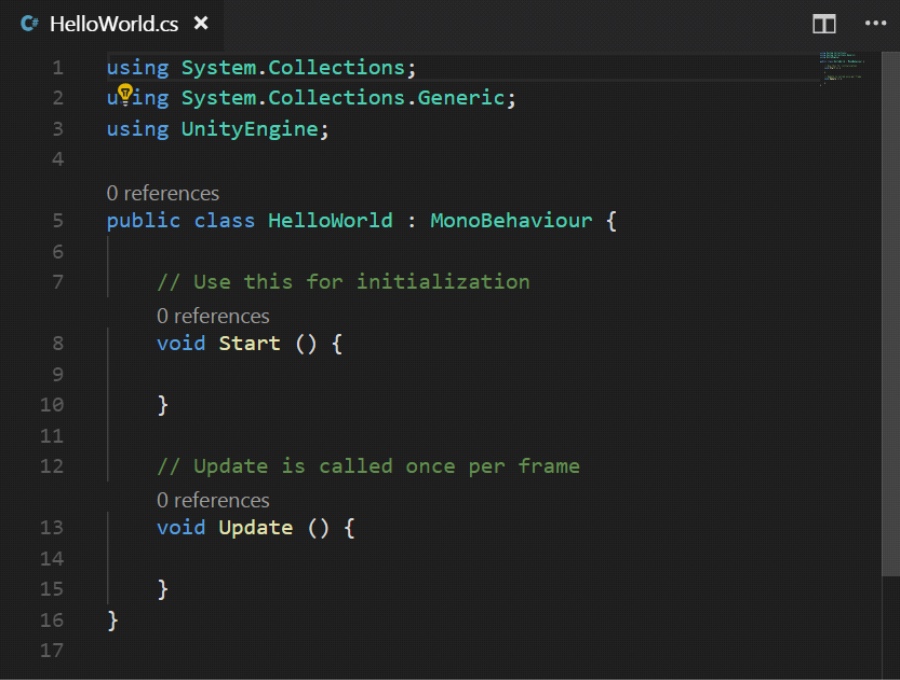
This is the basic structure generated when a script is created in Unity. As we can see, by default several lines of code arranged in different ways are added.
The first three lines of code (those in rows number 1, 2 and 3 , and beginning with the word “using”) represent something known as “Namespace”; for don’t getting confused, see “namespace” as libraries from we can obtain resources that will make the development of our code much easier (when we say “resources“, we refer to other sections of code that reside in other files and perform specific tasks).

In our case, we are not creating a “namespace”, but we are using some existing ones: that's why “using” appears before “System.Collections”, which means that we're going to “use” the existing “namespace” “System.Collections”.


3.2 Classes and Objects.
There are several ways to define what a “Class” and an “Object” are, but we can say that a “Class” is a kind of “template”, “scheme”, or “mold” which contains certain properties and tasks to execute. And an “Object” would be the product resulting from using a “Class” (the “Class” is the template used to create “Objects”).
When we build an “Object” from a “Class”, it is also said that “we are creating an Instance of the Class”.
For example, a “Class” is like a mold for making figures, and an “Object” would be the resulting figure (the figures may have different colors and textures, but their shapes would not change, because they are defined by the mold). In this case, we “are making Figures from a Mold” or in other words, we are “making Mold Instances”.
In this way, “when we create a script in Unity, what we are doing is creating a Class”. And when we assign that script to one or several game objects, “we are creating one or several Instances of the Class”.
Back to our “Hello World” script (where we know now it's also the “HelloWorld" Class), at row number 5 we can see:

Here is where “the Name of Our Class is set”, and this name “must” be the same as the name used when creating the file in Unity (otherwise it cannot be executed correctly).
Note: If for any reason you change the file name, it is necessary to change it also in this section of the code.
With “public class” we are saying that a Class exists and can be used by other different Classes created within the same Unity project. The class name will be write after “public class” keyword.
After the class name, appears the next keyword “MonoBehaviour”, this means that our class is part of a “Base Class” called “MonoBehaviour”, and from the one you can obtain a lot of “benefits”, such as having access to specific functions to develop games, as well as being able to work with the Unity Editor Interface (by now it could sounds confuse, but we'll see some examples later).
Finally the brackets symbols appear ”{ }”, and inside them we will found the “Body Class” (which are all the properties and tasks that we want to have in the class).
3.3 Methods.
A Method is a “group” of instructions; we have to assign a name to this “group”, and when it is called, all the contained instructions will be executed.
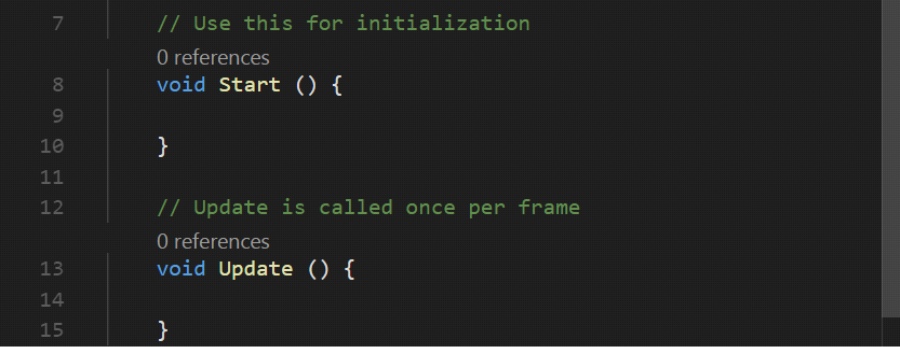
In the “HelloWorld” Body Class, the “Start” and “Update” “Methods” were created (the first in row number 8 and the second in row number 13).
Both methods belong to the “MonoBehaviour” “Base Class”, and they do the following:
- Start: all the coding placed inside this method body (between the brackets “{ }”) will be "executed only once” when running the game and “the instance of the class is activated” (that's why the message “Hello World” appeared only once and just after pressing the “Play” button in Unity).
- Update: all the coding placed inside this method body (between the brackets “{}”), will be "executed continuously and indefinitely” while “the instance of the class is active” during the execution of the game (this method begins immediately after the “Start” Method).
Note: Before the name of each method, it is written “void”, this means that the method is only executed, and there is no information that is delivered to whichever calls it (we will see it later with more details).