
Before starting with the codes in C Sharp (C #), we will configure our Unity Editor Interface and thus ensure that we all see the same on the screen 🙂
Unity Tutorial Level: Beginner.
1.1 Creating a New Project.
We are going to create a new Project in Unity:
- Open Unity in your computer.
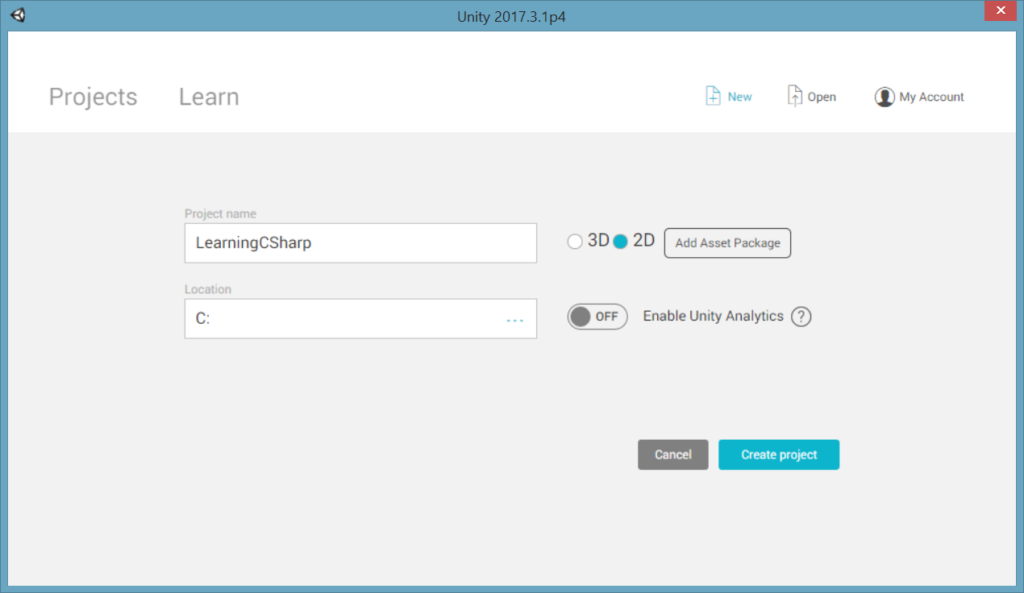
- On the home screen, click on the “New Button”.
- In the “Project name” field, write the name that you like most for your Project. We recommend “LearningCSharp”.
- In the “Location” field, select where you want to store your Project in your computer.
- Select the “2D” box.
- Finally, let's click on “Create project".
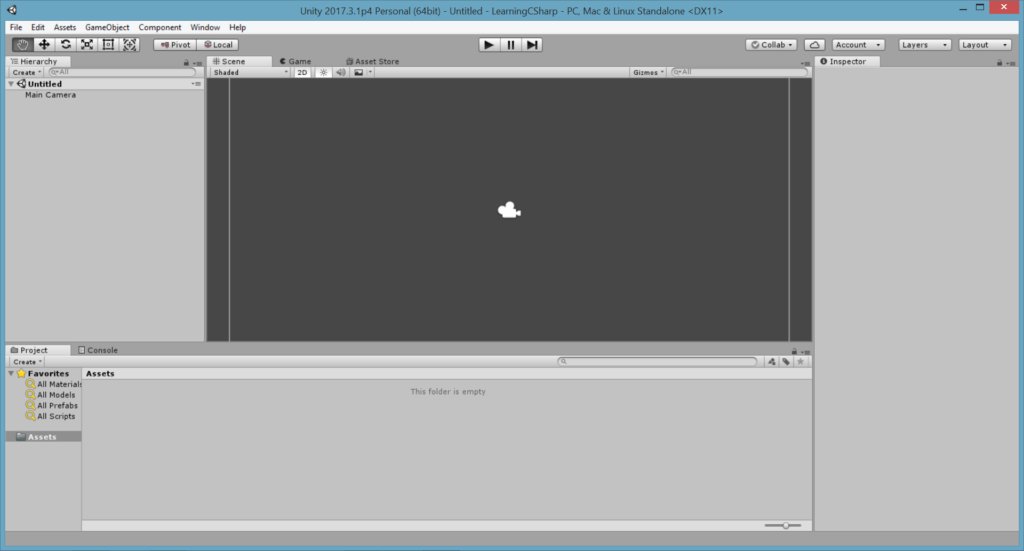
Once your Project is open, the Unity Editor Interface will look like this:


1.2 Organizing Windows.
Now we are going to modify the way in which the Windows are displayed within the Unity Editor Interface (in order to have a more comfortable working environment).
To do this, it is necessary to place our mouse pointer over the window´s name that we are going to move, then “click", "hold” and "drag" the window to the new location:
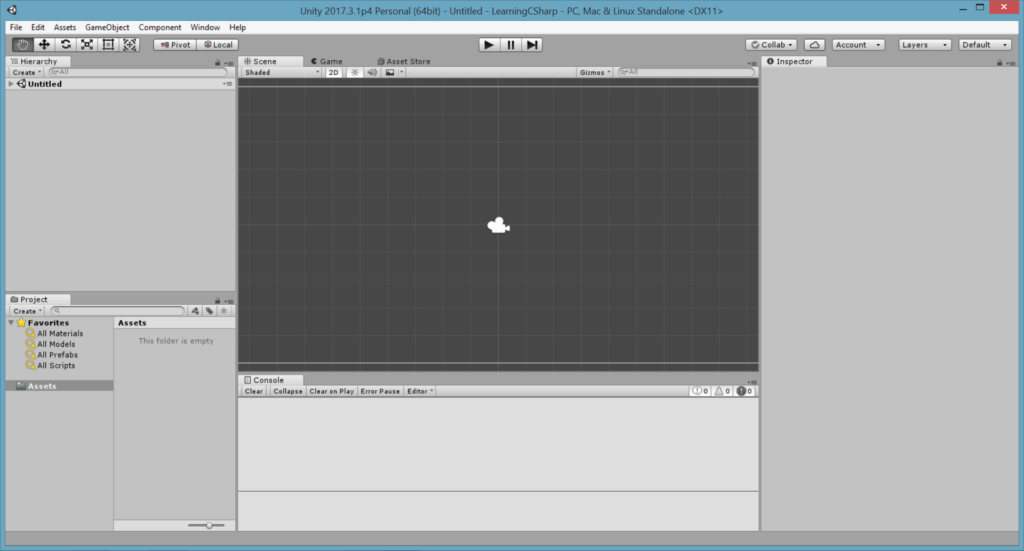
Our Unity Editor Interface should look like this:
Note: Do not worry if the Windows don´t arrange as you want or if one of them has been lost (or any similar disaster), it is always posible to leave everything as it was initially; you only have to click on the “Layout” button and choose “Default” from the list.
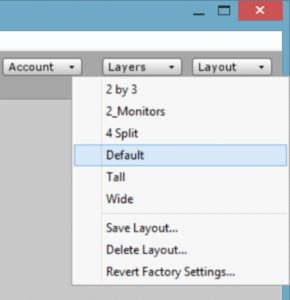
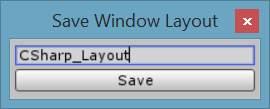
Once the Windows are arranged as indicated in the previous image, we are going to save this arrangement so that we can call it again in case any window is accidentally lost. To do this, click on the “Layout” button and then choose “Save Layout…”

It will be shown a small window where we have to write the name of our arrangement (we recommend writing “CSharp_Layout”), then click on the “Save” button.
1.3 Creating Folders.
During the development of a video game, a large number of files (codes or scripts, media, program data, and more) are created and used; therefore it is always necessary to maintain a structure and an order for being organized with our information.
To achieve this, we will do so by using dedicated folders for each major group of files. Following the next steps:
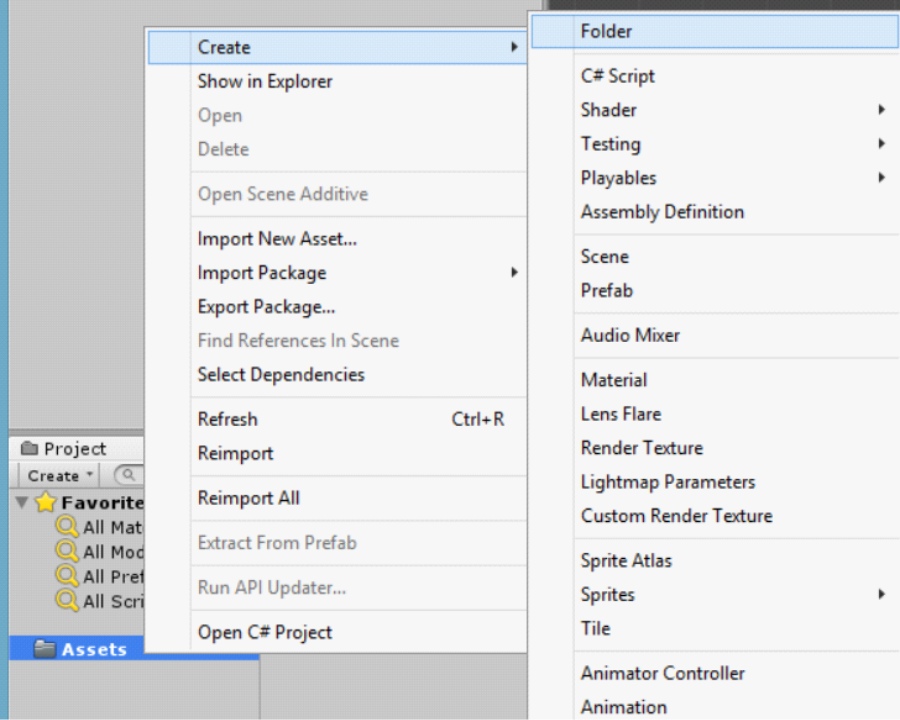
- Inside the “Project” window, “right click” on the “Assets” folder and choose Create→Folder.
Note: The “Assets” folder is created by default with each Project that we start, and here is where Unity asks us to save all the files that we will use in our game (in other tutorials we will see that there are dedicated folders to other purposes with the ones we can also work).
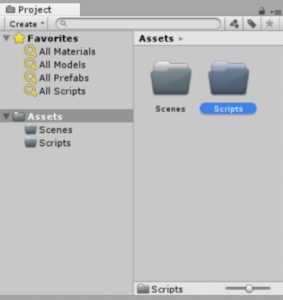
2. A new folder is going to be created inside “Assets” and we will call this one “Scenes” (because this is the place where we will store our files that belong to the work scenes of our game).
3. Now, repeat step #1, in order to create the “Scripts” folder (here we will save all the C# code files or "Scripts" that we generate).
The “Project” window should show the following:
Note: The number of folders and their names may vary depending on the complexity of the Project and the people who develop it; for that reason, there is not a single structure that determines how to organize our files, we must organize them in the best way for our convenience.
1.4 Saving the Scene.
The work scene ("Scene") in which we are working now, was created automatically when we opened this new Project. It is necessary to assign it a name and save it in order to start developing our video games (and avoid future problems):
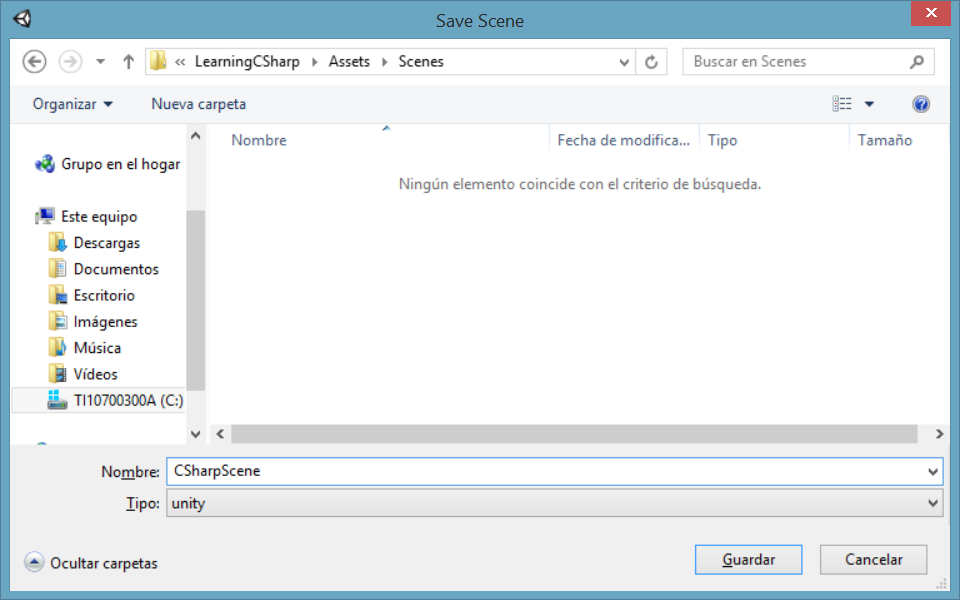
- On the Menu bar, choose File → Save Scene as…
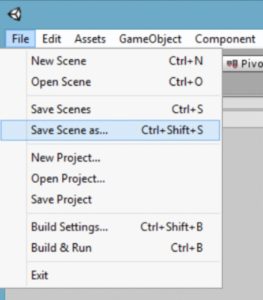
2. We will be asked to find the location where we want to save our Scene, as well as assign a name (the browser window of our operating system will automatically place us in the “Assets” folder of our Project). We recommend calling our Scene “CSharpScene” and saving it inside the “Scenes” folder that we had created.
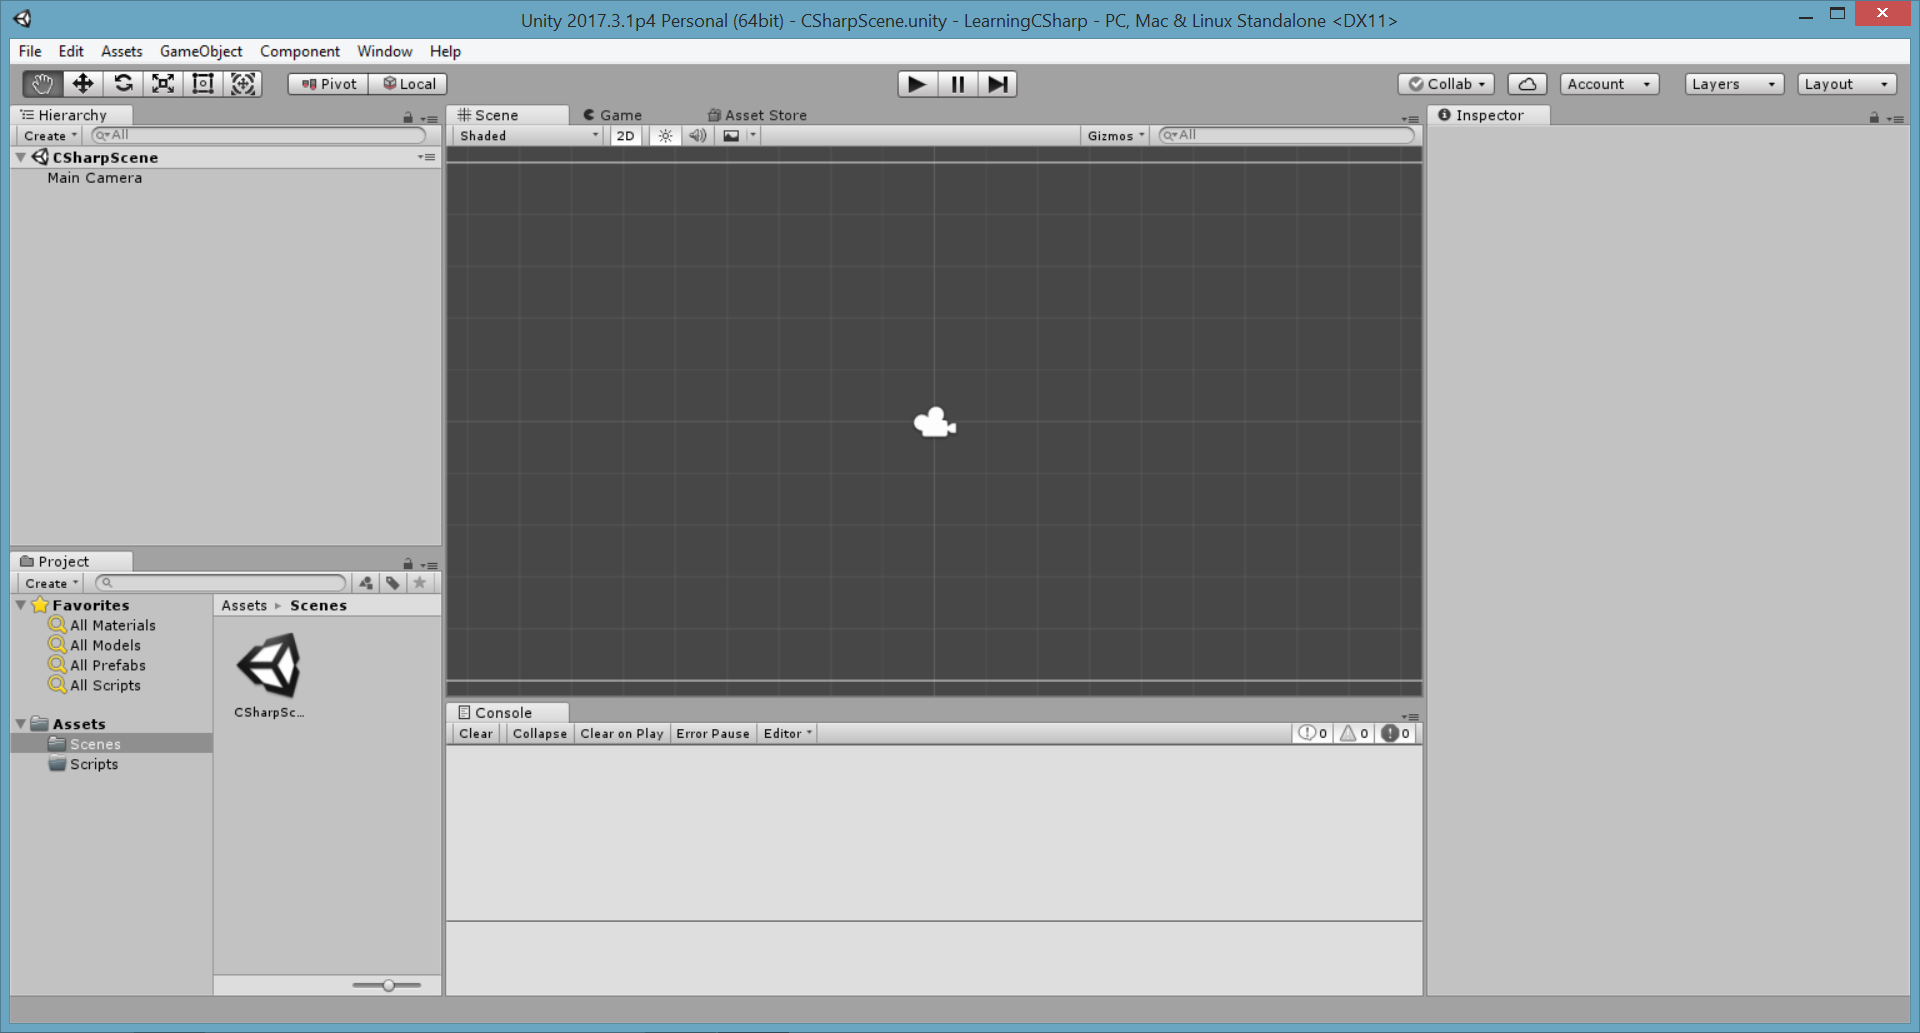
Our Scene is ready to start working on it. One way to make sure that we are working on the correct scene is to verify the title of the main Unity Window (the Editor Interface), this title should indicate the name of the scene in which we are currently working, as well as the name of our Project.
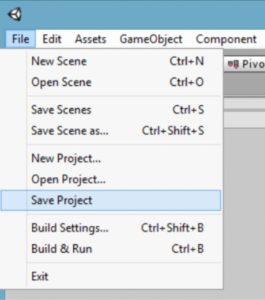
Finally, we will save our Project to not lose our configurations, this can be done from the Menu bar, then choose File → Save Project (as a good practice, it is important to save our Scenes and the Project frequently).
Now we can close Unity without any problem and the next time we open our Project we will see all our last modifications.